CAC authentication through Remote Desktop has gotten complicated with all the different group policy settings and network restrictions flying around. As someone who spent years supporting remote DoD workers and troubleshooting CAC-over-RDP issues, I learned everything there is to know about making smart cards work through Remote Desktop Protocol. Today, I will share it all with you.
Understanding CAC and RDP Compatibility
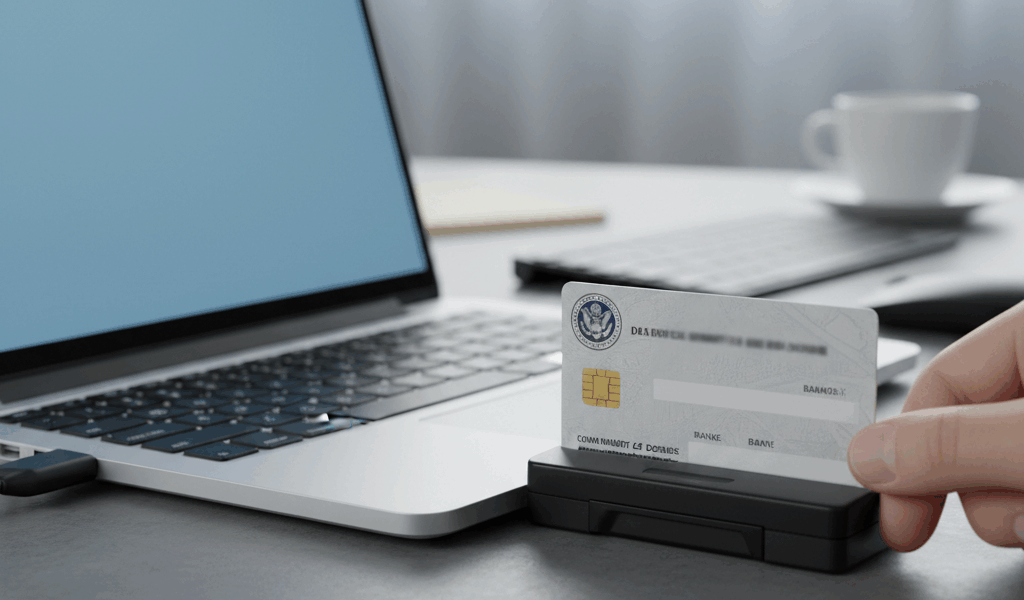
Remote Desktop connections can redirect smart card readers from your local computer to the remote session, allowing you to authenticate with your CAC as if it were physically connected to the remote machine. However, this functionality requires proper configuration on both ends of the connection—and that’s where most people run into problems.
The key technology enabling this is called “smart card redirection,” which is built into the Remote Desktop Protocol. When configured correctly, your local CAC reader appears as a device on the remote computer, and the remote system can read your CAC certificates for authentication. That’s what makes RDP endearing to us IT professionals—when it works, you can access secure systems from anywhere without carrying around a second CAC reader.
Prerequisites for CAC Over RDP
Probably should have led with this section, honestly. Before troubleshooting, ensure you have these fundamentals in place:
- Working Local CAC Setup: Your CAC must work properly on your local machine first. Test by accessing a CAC-enabled website like MilConnect or webmail.apps.mil
- Compatible CAC Reader: Not all readers work equally well over RDP. USB CCID-compliant readers typically perform best—cheap readers can cause all sorts of weird issues
- Updated Middleware: ActivClient or the DoD CAC middleware must be installed and current on both your local and remote machines
- Windows Professional or Enterprise: The remote machine needs a Windows edition that supports Remote Desktop hosting—Home editions don’t support RDP hosting
Configuring RDP for Smart Card Redirection
On Your Local Machine (Client)
Open Remote Desktop Connection and click “Show Options” to access advanced settings. Navigate to the “Local Resources” tab and click “More” under Local devices and resources. Ensure “Smart cards” is checked—this tells RDP to redirect your CAC reader to the remote session.
You can also enable this by editing the .rdp file directly if you’re comfortable with that. Add or modify this line:
redirectsmartcards:i:1
On the Remote Machine (Host)
The remote computer needs Group Policy settings configured to allow smart card redirection. Check these settings in the Local Group Policy Editor (gpedit.msc):
- Navigate to Computer Configuration → Administrative Templates → Windows Components → Remote Desktop Services → Remote Desktop Session Host → Device and Resource Redirection
- Ensure “Do not allow smart card device redirection” is set to “Disabled” or “Not Configured”—if it’s enabled, your CAC won’t redirect no matter what you do on the client side
Common Problems and Solutions
CAC Not Detected in Remote Session
If your CAC isn’t detected after connecting, try this sequence that works about 90% of the time:
- Disconnect from the remote session completely and remove your CAC from the reader
- Reconnect to the remote session without your CAC inserted
- Once fully connected, insert your CAC into the reader
- Wait 10-15 seconds for the redirection to complete—don’t rush this step
Some systems require the CAC to be inserted after the RDP connection is established, not before. This is one of those quirks you just have to know.
Certificate Errors or PIN Prompts Not Appearing
This often indicates a middleware issue on the remote machine. Ensure ActivClient or equivalent software is installed on the remote system and that the Smart Card service is running. Open Services (services.msc) and verify “Smart Card” shows as Running with startup type set to Automatic.
Slow Response or Timeout Issues
Network latency can cause smart card operations to time out before completing. If you’re on a slow connection:
- Reduce the RDP color depth to improve bandwidth—you don’t need 32-bit color for most work
- Close unnecessary applications that might be using network resources
- Consider using a wired connection instead of WiFi—WiFi latency can kill CAC operations
Special Considerations for DoD Networks
Government networks often have additional security restrictions that affect CAC over RDP in ways that make troubleshooting more challenging:
VPN Requirements: Many DoD systems require VPN connection before RDP will work properly with CAC authentication. Establish your VPN connection first, then connect via RDP. Trying to do it backwards won’t work.
Network Level Authentication (NLA): Some DoD systems require NLA, which means you need to authenticate before the remote desktop session fully establishes. This can complicate CAC usage—work with your IT department if you encounter NLA-related issues because the configuration varies by organization.
PIV vs CAC: Some newer systems use PIV authentication instead of traditional CAC. The configuration is similar, but you may need different middleware or certificates. Don’t assume they’re exactly the same thing.
Testing Your Configuration
After configuration, test your setup with this systematic approach:
- Connect to the remote machine via RDP
- Insert your CAC (if not already inserted)
- Open a browser and navigate to a CAC-required site like webmail.apps.mil
- Verify you receive a certificate selection prompt—if you don’t, redirection isn’t working
- Select your authentication certificate (usually the one with “EMAIL” in the name) and enter your PIN
If all steps complete successfully, your CAC over RDP configuration is working correctly. Document your settings and save that RDP file so you can replicate them if needed in the future. Trust me on this—you’ll thank yourself later when you need to set up another connection.


Stay in the loop
Get the latest wildlife research and conservation news delivered to your inbox.