Quick answer: ActivID ActivClient is licensed HID software, not a universal public CAC download. Get the Windows 11 package and entitlement through your agency, employer, authorized software portal or HID channel. If your organization does not require ActivClient, confirm whether Windows’ built-in smart-card support already handles your CAC workflow before installing additional middleware.
This guide explains a normal local installation from an approved ActivClient distribution package. Government-managed computers may deploy it centrally and may block local installation. Follow your organization’s version, feature and upgrade policy instead of downloading an installer from a forum, file mirror or unrelated CAC website.
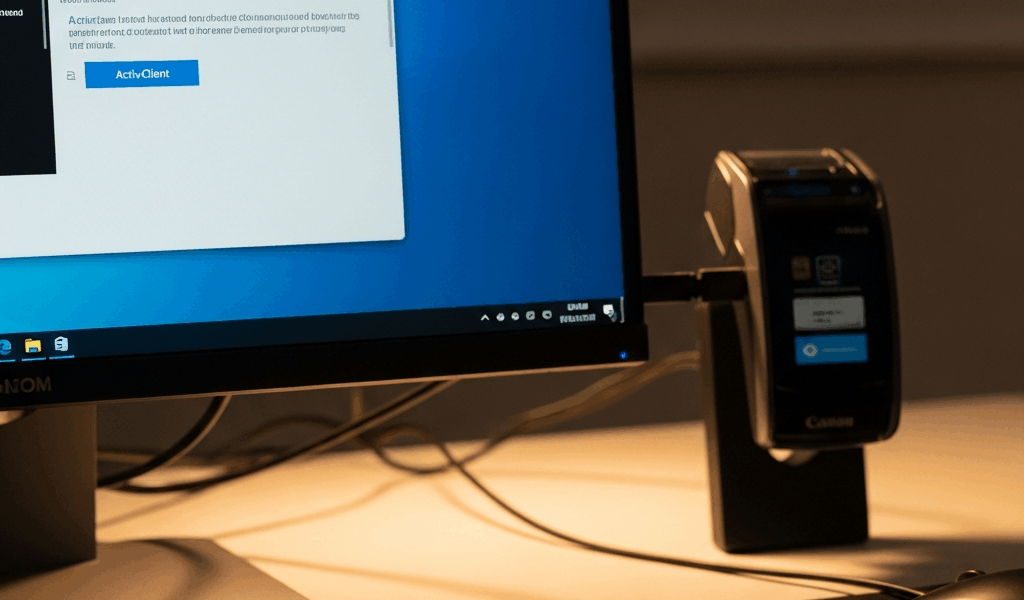
Where to download ActivClient for Windows 11
There is no legitimate one-size-fits-all “free ActivClient download” link. ActivClient is a commercial HID product, and the installer arrives through the customer’s or organization’s licensed distribution channel. Use one of these:
- your agency or employer’s managed software center;
- an internal IT or remote-access portal;
- the help desk or software-asset team; or
- an authorized HID customer/support channel tied to the organization’s entitlement.
Do not treat MilitaryCAC or another third-party informational website as the software publisher. Do not download ActivClient from GitHub, torrents, cloud-drive links or “driver download” sites. An unauthorized copy may be outdated, modified, unlicensed or inconsistent with the organization’s configuration.
Do you actually need ActivClient?
ActivClient and the USB reader driver solve different problems. Windows can enumerate many standards-compliant readers and smart cards with built-in components. ActivClient adds HID middleware, management and integration features, but it is not automatically required just because a reader is attached.
Install it when your organization, application documentation or support team requires it. If the only symptom is that Windows cannot see the USB reader, diagnose the hardware and driver path first with the Windows 11 CAC reader guide. Middleware cannot repair a reader that never enumerates in Device Manager.
For the fuller decision framework, see ActivClient versus native Windows smart-card support.
Choose the correct package and version
Use the version supplied or approved by the organization. Do not rely on an article’s fixed version number: HID publishes multiple supported release-documentation lines, while enterprise administrators may qualify a particular version and patch for their environment. HID’s current documentation should be checked alongside the distribution package’s readme and your IT policy.
Confirm all of the following before installation:
- the package came from an approved licensed source;
- it is intended for the organization’s Windows 11 build and architecture;
- the digital signature and package contents are intact;
- the organization has specified whether this is a fresh install, upgrade or patch;
- any customized feature set or transform supplied by IT is available; and
- recovery instructions exist in case installation fails.
Before installing
HID’s installation documentation directs users to remove the smart card from the reader, close applications and use local or domain administrative privileges. On a managed device, that means the help desk or deployment system may need to perform the installation.
- Save work and close open applications.
- Remove the CAC or other smart card from the reader.
- Confirm administrative authorization and privileges.
- Read the package readme, release notes and organization instructions.
- Identify the installed ActivClient version, if any, before choosing fresh install or upgrade.
Do not change the Windows Smart Card service to Automatic as a generic prerequisite. Do not disable antivirus or endpoint protection to make the installer run. If security tooling blocks an organization-approved installer, preserve the error and ask IT to validate or allow it through the approved process.
Fresh ActivClient installation
Exact screens vary by release and organization customization. HID’s current typical-install documentation uses the MSI installer in the distribution package:
- Open the approved distribution package and locate its Product folder or the MSI identified by IT.
- Run the ActivClient MSI with administrative authorization.
- At the welcome screen, select Next.
- Review and accept the license agreement only if authorized.
- Choose the organization-specified setup. HID documents Typical as the normal default; use Custom only when your deployment instructions require particular features.
- Select Install and allow the process to complete without installing other applications simultaneously.
- Select Finish and review the readme.
- Restart if the installer, readme or organizational policy instructs you to do so.
Do not assume ActivClient installs the correct driver for every external reader. Reader hardware, Windows class/minidrivers and ActivClient features are separate parts of the stack. Verify the exact reader independently in Device Manager.
Upgrading an existing installation
Do not uninstall the old version reflexively. HID documents supported in-place upgrade paths for some releases, and a previous customized installation may affect which features are carried forward. The correct process depends on the installed version, architecture, patch history and how the organization originally deployed it.
HID also documents a Windows 11 24H2 consideration: because Microsoft is deprecating VBScript, upgrades from some older ActivClient versions can encounter uninstallation problems. If an older installation will not upgrade or uninstall, use the version-specific HID troubleshooting procedure or open a support case; do not run registry cleaners or unknown removal scripts.
How to verify the installation
- Open Windows Installed apps and confirm ActivClient appears with the expected version.
- Connect the approved reader directly and confirm it appears without an error in Device Manager.
- Insert the CAC and open the ActivClient user console if that feature was included.
- Run
certutil -scinfoto confirm Windows can report the reader, card and certificates. A PIN is not needed merely to list certificate information; press Esc if prompted during this diagnostic. - Test the specific organization-approved application or portal that required ActivClient.
If Device Manager and Certutil succeed but one website fails, do not reinstall everything. Test another CAC-enabled site, verify DoD trust and record the certificate/error shown by the failing portal.
Installation errors
Windows asks for administrator credentials
HID requires local or domain administrative privileges for installation. On a managed computer, contact IT rather than trying to bypass the restriction.
Error 1603 or another MSI failure
Error 1603 is a general Windows Installer failure, not proof of one specific cause or ActivClient version. Record the complete message and installed version. An administrator can create an MSI log using HID’s version-appropriate documented command and share it with HID or organizational support. Do not disable antivirus as a blanket workaround.
Shared Store Service error
HID’s current documentation identifies Microsoft Distributed Transaction Coordinator as a specific dependency to check for this named error and provides an MSI logging command if it persists. Apply that remedy only when the installer reports the Shared Store Service error, not for unrelated CAC failures.
Reader still is not detected
Return to USB and Device Manager diagnosis. Confirm the reader model, approved driver and hardware separately. Installing ActivClient does not prove the reader path works.
Card is detected but the required portal fails
Capture the site, browser, certificate choice and exact error. The remaining issue may be DoD trust, browser state, an application dependency or account authorization. Use the CAC Reader Troubleshooter to isolate the layer.
Security checklist
- Use only the licensed, organization-approved distribution.
- Never publish or share proprietary installer files.
- Never disable signature enforcement or endpoint protection as routine advice.
- Remove the CAC before installation or upgrade, as HID directs.
- Do not enter a CAC PIN into an unexpected installer or diagnostic prompt.
- On managed systems, leave drivers, services, Group Policy and updates to authorized administrators.
Frequently asked questions
Can I download ActivClient free?
Do not use an unofficial free download. ActivClient is licensed HID software. Obtain it through your organization or an authorized channel tied to a valid entitlement.
What ActivClient version works with Windows 11?
Use the version and patch approved for your organization’s exact Windows 11 environment. HID maintains release-specific documentation, but an enterprise may standardize on a qualified version rather than the newest public documentation line.
Does Windows 11 need ActivClient for every CAC?
No universal rule applies. Windows includes native smart-card components, while some organizations and applications require ActivClient features or configuration. Confirm the requirement before installing.
Should I remove an old ActivClient version first?
Not automatically. Use the supported upgrade path for the installed release and deployment method. Some versions upgrade in place; older Windows 11 installations may need version-specific assistance.
Official documentation
- HID: Install ActivID ActivClient 8.4
- HID: ActivClient 8.4 quick start and package contents
- HID: Upgrading ActivClient and Windows 11 considerations
- Microsoft: Certutil command reference
If you are still determining which layers your computer needs, begin with the complete CAC setup checklist before installing licensed middleware.


Stay in the loop
Get the latest cac setup.com updates delivered to your inbox.