Why Some Users Skip ActivClient Entirely
CAC setup on Chrome has gotten complicated with all the conflicting guides and outdated forum posts flying around. When I first tried getting my Common Access Card working on a personal machine, I assumed ActivClient was the only path. It isn’t. Plenty of people are in situations where ActivClient’s licensing simply doesn’t extend to personal hardware — or worse, their organization won’t touch it. Others hit the same wall I did: ActivClient installs fine, Chrome acts like it doesn’t exist.
So there are two real alternatives. OpenSC — free, open-source middleware that bridges your CAC reader and Chrome. And native PCSC on macOS, which requires zero installation whatsoever. Both work. Both are completely legitimate. Neither touches ActivClient.
Probably should have opened with this section, honestly. Knowing why you’re doing something matters more than just blindly running installers.
What You Need Before You Start
But what is a CAC setup actually asking of you, hardware-wise? In essence, it’s just a smart card reader talking to a browser. But it’s much more than that — the certificate chain, the middleware layer, the browser’s trust store all have to cooperate simultaneously. Before any of that, gather these:
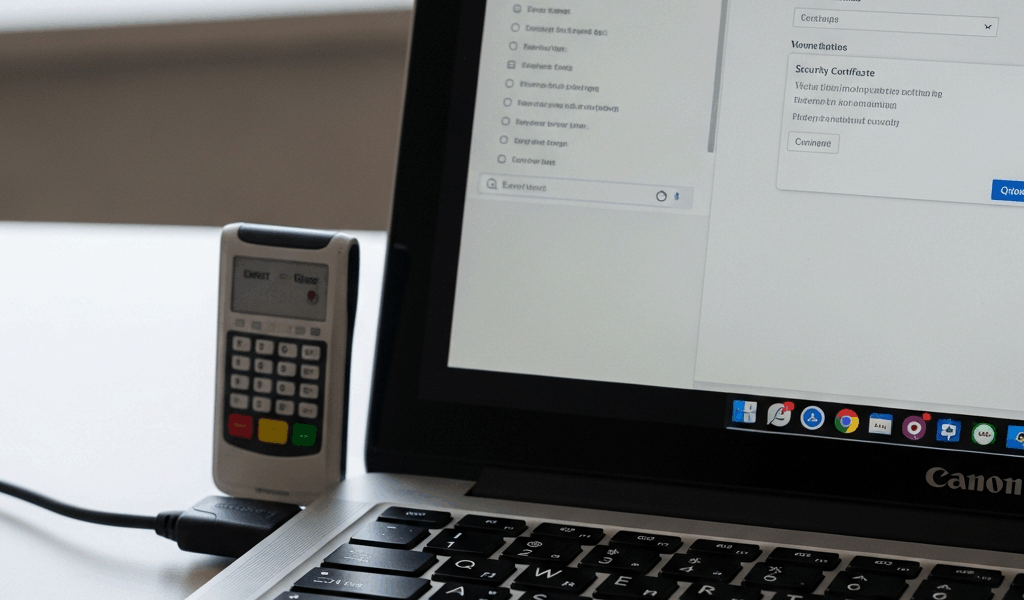
- A working CAC reader. Gemalto, HID, or Identiv all do the job. USB readers run roughly $30–$80 depending on model.
- Your Common Access Card itself.
- Chrome version 90 or later. Chrome killed NPAPI support back in 2015 — if some guide is telling you to install a browser plugin, close that tab immediately.
- Windows 10/11 or macOS Ventura or later. Older Mac versions handle PCSC differently enough to cause real headaches.
- DoD root certificates. Non-negotiable. Without them, your browser won’t trust the certificate chain regardless of which middleware you’re running.
Quick note: this guide assumes you already hold a valid DoD CAC. No card, none of this applies.
Setting Up CAC in Chrome on Windows Without ActivClient
Windows without ActivClient means OpenSC. That’s the path. So, without further ado, let’s dive in.
Step 1 — Download OpenSC
Head to https://github.com/OpenSC/OpenSC/releases. The current stable release is version 0.24.0 — grab the file labeled OpenSC-0.24.0.exe, or whatever the newest version reads when you get there. Download it. Don’t overthink this part.
Step 2 — Install OpenSC
Run the installer. Windows wants admin rights — grant them. The setup wizard will show customization options. Stick with defaults. There’s no reason to uncheck anything unless you have a very specific configuration in mind. The whole thing wraps up in about two minutes.
Step 3 — Plug In Your Card Reader
Insert the USB reader. Windows detects it automatically. Slide your CAC in and keep it seated — don’t pull it back out during the next step.
Step 4 — Verify the Reader Shows Up
Open Command Prompt as administrator. Run this:
opensc-tool -l
Recognized reader? You’ll see your card listed in the output. Nothing — or an error — means the reader isn’t detected. Jump straight to the troubleshooting section. This is where most people get stuck the first time.
Step 5 — Install DoD Root Certificates
Visit https://militarycac.com or https://iase.disa.mil. Download the DoD Root Certificate bundle. Extract it. You’re looking for .cer or .pem files.
Open Chrome and go to chrome://settings/certificates. Click the “Authorities” tab. Import each DoD root cert from that bundle. This is what tells Chrome to trust anything the Department of Defense has signed.
Step 6 — Test It
Pull up a CAC-required site — mypay.dfas.mil works, or your agency portal if you have one. Chrome should throw a certificate selection prompt. Your CAC cert should appear. Select it. Site loads? You’re done.
Setting Up CAC in Chrome on Mac Without ActivClient
macOS has a built-in advantage here. Ventura and later ship with native smart card support through PCSC. No middleware needed — not OpenSC, not anything else.
Step 1 — Insert Your Reader
Plug in the USB reader. Insert the card. That’s genuinely it. Modern Mac hardware doesn’t require hunting down drivers.
Step 2 — Verify It in Keychain Access
Open Keychain Access — Spotlight works, or Applications > Utilities. Find the “Smart Cards” tab. Your reader should appear there, with your card’s certificates nested beneath it. Nothing showing? Unplug the reader, wait five seconds, plug it back in. Keychain occasionally needs a nudge.
Step 3 — Install DoD Certificates
Download the DoD root certificate bundle from militarycac.com. Open each certificate file individually. Keychain prompts you to add it each time — click “Add.” Do this for every root and intermediate cert in the bundle. Don’t skip the intermediates.
Step 4 — Test It
Open a DoD site in Chrome. The browser should detect the card and ask you to pick a certificate. Your CAC cert appears in the list, you select it, and you’re in.
One thing worth mentioning: older Mac guides push Thursby or other third-party smart card software. Ignore them. I’m apparently someone who spends an afternoon installing middleware that the operating system already provides natively — and Thursby works for nothing that macOS Ventura doesn’t already handle while the old guides never acknowledge this. Don’t make my mistake.
Still Not Working in Chrome — Try These Fixes
Chrome Isn’t Prompting for a Certificate
Check chrome://settings/certificates and look at “Your Certificates.” No CAC cert listed means Chrome can’t see it. On Windows, re-run opensc-tool -l and confirm OpenSC still sees the card. On Mac, verify Keychain Access is showing it.
Still nothing after that? Restart Chrome entirely. It caches certificate lists — sometimes a fresh launch is all it takes.
Chrome Prompts for a Certificate but the Site Rejects It
Missing intermediate certificate. Almost always. The DoD bundle includes both root certs and intermediate authorities — both matter. Go back to militarycac.com and confirm you installed every certificate they provide, not just the top-level roots.
Chrome Shows Multiple Certificates — Which One?
Your CAC holds several certs. One handles digital signatures. One handles authentication. The browser may show both — pick the one labeled “authentication,” or the one associated with your last name or employee number. When genuinely unsure, try the one with the nearest expiration date first. That’s usually the active cert.
Wrong choice? The site rejects you, Chrome prompts again. Trial and error is fine here. Nothing breaks permanently.
Still stuck after all this? The Firefox CAC setup guide covers similar ground for a different browser — sometimes swapping browsers helps isolate whether the problem lives in your middleware or your browser configuration specifically.


Stay in the loop
Get the latest cac setup.com updates delivered to your inbox.