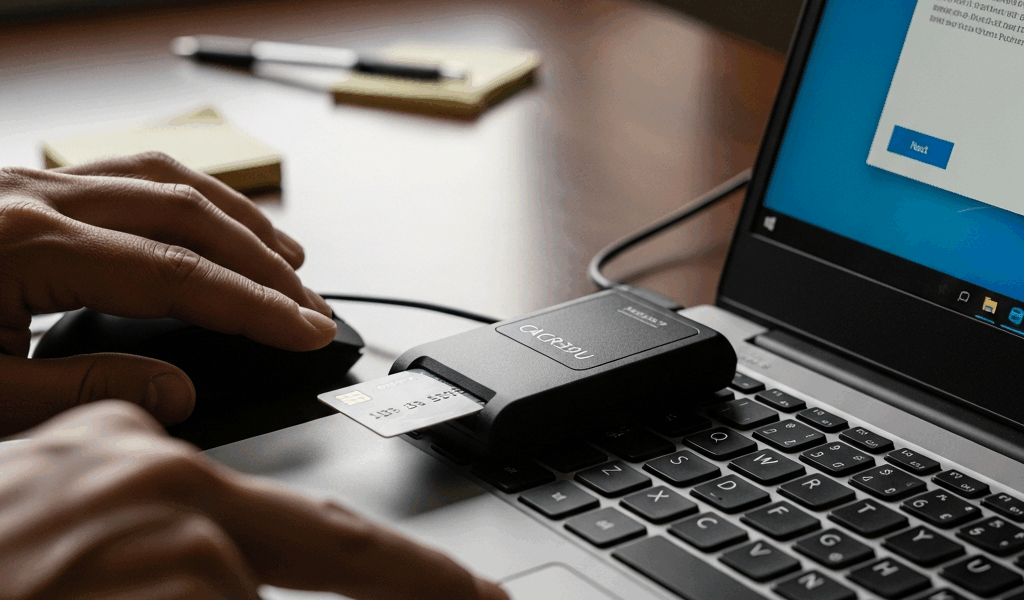
CAC Reader Setup on Windows 10 — Complete Guide
Windows 10 includes native smart-card components that support many common CAC workflows, but requirements vary by reader, card, application and organization. Start by confirming hardware detection before installing optional middleware.
Windows 10 is still the dominant OS in most DoD environments — let’s not pretend everyone has upgraded. If you’re parked in front of a CAC-locked workstation and nothing is cooperating, you’re in the right place.
Before You Start — What You Need
Probably should have opened with this section, honestly. Nothing derails a CAC setup faster than getting halfway through and realizing something basic is missing. Don’t make my mistake.
Have all of this in hand before you touch a single download link:
- A USB CAC reader — The SCR3310 from HID Global is the one I see on government desks most often. Runs about $35 on the open market. The SCR3500 is the slightly newer sibling. Either works. If your unit issued you an Identiv uTrust 3700 F, that one plays nicely with Windows 10 too — no drama involved.
- Your CAC card — Obvious, right? Still, double-check the expiration date. An expired CAC wastes your time in ways that are genuinely maddening.
- Middleware — This is the software layer that lets Windows actually talk to your CAC. Two options exist: ActivClient, the paid enterprise version most DoD shops push through their software centers, or the built-in Windows Smart Card service, which costs nothing and is already sitting on your machine. More on picking between them in a moment.
- DoD root certificates — Windows does not ship with these. Manual install required. This step trips up more people than anything else in the entire process.
- A compatible browser — Microsoft Edge or Google Chrome. Internet Explorer is dead and buried. Firefox requires extra configuration I won’t cover here — stick with Edge or Chrome and save yourself the headache.
On the middleware question: if ActivClient is available through your unit’s software portal, use it. It handles certificate management more cleanly, and I’ve personally seen fewer PIN lockout issues compared to the alternative. If you’re on a government-furnished device with no ActivClient license available, the Windows built-in Smart Card service holds up fine — Windows 10 has had native smart card support since version 1703, so no third-party driver is required just to read the card. The certificates are a separate problem entirely, which is what the next section covers.
Install the Reader Driver
Frustrated by a reader that showed up as an unknown device in Device Manager, I once spent two hours chasing a driver problem that turned out to be a bad USB port on a Dell OptiPlex sitting on a metal government-issue desk. Check the port first. Plug the reader into a different USB slot — preferably one directly on the chassis, not a hub.
Most USB CAC readers are genuinely plug-and-play on Windows 10. Microsoft bakes generic smart card reader drivers right into the OS, and for the SCR3310 or SCR3500, those generic drivers are sufficient. Plug it in, wait about 30 seconds, then check Device Manager.
How to Check Device Manager
- Right-click the Start button and select Device Manager.
- Look for a category called Smart card readers. Reader appears there without a yellow warning triangle? You’re good — move straight to the certificate section.
- Reader showing up under Other devices with a yellow triangle? Windows didn’t auto-install the right driver.
Fixing a Driver That Didn’t Install
Right-click the problem device in Device Manager, choose Update driver, then Search automatically for drivers. Windows Update catches this most of the time on any machine with a live internet connection.
If that fails, grab the driver manually:
- HID SCR3310 / SCR3500 — Download directly from HID Global’s support site at hidglobal.com. Search “SCR3310 driver Windows 10.” The file is about 4 MB and installs in under a minute.
- Identiv uTrust 3700 F — Driver lives at identiv.com under their support section. Same process, same speed.
- Gemalto/Thales readers — Some older units issued Gemalto hardware. Thales acquired Gemalto a few years back, so head to thalesgroup.com and search your model number — it’s on a sticker on the bottom of the reader, usually printed in a font that requires reading glasses.
After installing the driver, reboot. Open Device Manager again. Reader now showing under Smart card readers with no warning triangle? That step is done.
One mistake I made early on — I kept reinstalling the driver over and over when the actual problem was ActivClient conflicting with the generic Windows driver. If you have ActivClient installed and you’re seeing driver conflicts: uninstall ActivClient, reboot, let Windows re-detect the reader on its own, then reinstall ActivClient. That sequence matters more than it probably should.
Install DoD Certificates
This is the step most guides either bury or explain badly. But what are DoD certificates? In essence, they’re the credentials that tell your browser a .mil website is legitimate and trusted. But they’re much more than that — without them, every DoD site throws a certificate error, and CAC login fails even with a perfectly functioning reader. That’s what makes this step so critical to everyone setting up government access.
Download the Certificate Bundle
Go to militarycac.com and find the InstallRoot section. The tool is called — straightforwardly enough — InstallRoot, and it’s maintained by the DoD Cyber Exchange. Download the Windows InstallRoot installer. Current version as of this writing is 5.6, around 8 MB total. You can also pull it directly from public.cyber.mil, which is the official DoD source. Honestly, I prefer that route — it cuts out any middleman concerns entirely.
Run InstallRoot
- Run the installer as administrator — right-click the .exe, choose Run as administrator.
- When InstallRoot opens, click Install Certificates.
- Let it run. It handles DoD root certificates, intermediate certificates, and cross-certificates automatically. The whole thing wraps up in under two minutes.
That’s the fastest path available — InstallRoot replaced what used to be a genuinely painful manual process involving individual certificate files and too many clicks to count.
Verify With Certmgr.msc
Want confirmation the certificates actually landed? Here’s how to check:
- Press Windows key + R, type certmgr.msc, hit Enter.
- Expand Trusted Root Certification Authorities, then click Certificates.
- Scroll for entries labeled DoD Root CA followed by a number — DoD Root CA 2 through DoD Root CA 6. You want all of them present.
- Then check Intermediate Certification Authorities for DoD-issued intermediate certs. Several should appear.
Don’t see the root CAs? Run InstallRoot again and recheck. I had it fail silently once on a machine because the account running the install lacked local admin rights — on a Tuesday afternoon, naturally, with a deadline involved. Elevate the permissions and run it again.
Browser Configuration — Edge and Chrome
Edge pulls from the Windows certificate store automatically. Navigate to a CAC-protected site and it prompts you to select a certificate. Choose the authentication certificate from your CAC — not the email signing certificate — enter your PIN, and you’re in.
Chrome also uses the Windows certificate store on Windows 10, so the same process applies. Chrome not prompting for a certificate at all? Go to chrome://settings/security, scroll to Manage certificates, and confirm the DoD roots are visible. They pull from the same Windows store — if certmgr.msc shows them, Chrome sees them too.
PIN locked? Your CAC locks after three incorrect attempts — and there is no software workaround. That requires an actual visit to the CAC office or your unit’s RAPIDS station to unlock. Don’t guess at your PIN.
First, you should confirm the certificates installed correctly — at least if you want to avoid troubleshooting browser issues for the next hour. Once the certificate store looks right and the reader driver is confirmed working, most CAC authentication problems on Windows 10 are solved. The setup takes about 20 minutes when you know exactly what you’re doing. This guide should cut that down considerably, even on the first attempt.



Stay in the loop
Get the latest cac setup.com updates delivered to your inbox.